Fall semester 2020, under the guidance of Biomedical and Electrical Engineering Professor Joseph Tranquillo, I began to use my knowledge of signals and systems to implement new musical innovations. After completing my study on the use of Machine Learning in Music with Computer Science Professor Evan Peck last spring, I decided to continue my pursuit to create new, agile music technologies that respond to real-time data. However, this time I wanted to work with hardware rather than rely on web-based programming alone. Therefore, after spending a bit of time learning to use and program Arduino (model Arduino Uno) in the beginning of the semester, I decided to use a small, LilyPad Arduino 328 to create a wearable electronic instrument.
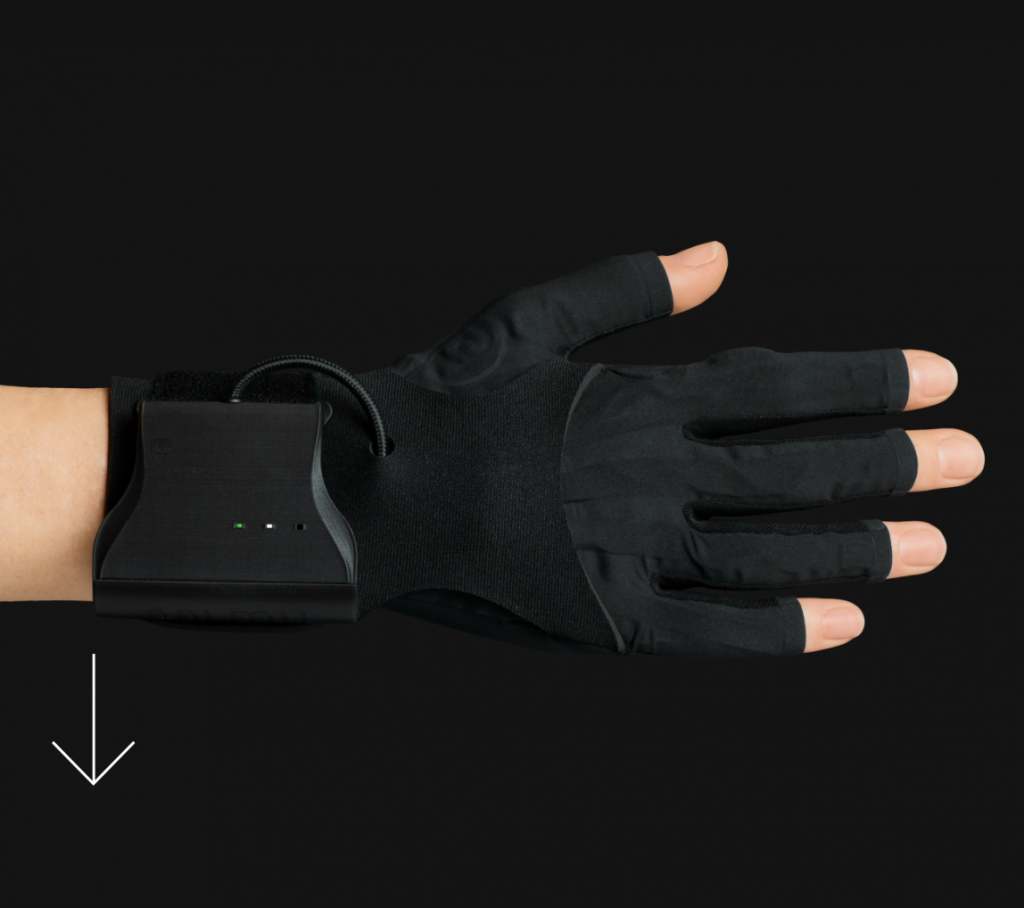
I was initially inspired to undertake this project because of my love for Mimu Gloves (linked above). Mimu Gloves were pioneered and popularized by Imogen Heap in the early 2000s. These gloves use flex sensors that measure the bend of your fingers along with a vibration motor that reads haptic feedback in order to control the sounds that a performer makes. For example, you can program the gloves so that if you raise your pointer finger, the pitch of the note your singing will raise with it. Or, so that if you give a thumbs up, the pitch that you produce will sustain until you drop that gesture. These gloves were a brilliant innovation in music technology due to the agility and expressive nature of human hands/fingers, allowing for authentic- feeling control over a wide variety of musical textures and enhancements. I wanted to make an electronic instrument that, like Mimu Gloves, breaths expression and life into a performance using the capabilities of the human body, rather than one that takes the humanity out of a performative experience and replaces it with technology entirely. I did not, however, want to repeat something that has already been done (so we steered away from gloves).
I began to ponder the different ways that we use our bodies in performance. Then, one day when I was watching the 2020 VMAs (one of the first live performances since the beginning of the COVID-19 lockdown), I was struck by the realization that masks (as we are currently using them) detract from the humanity of performances. Even when they are decorated with lights and rhinestones, flashing before our eyes, the glitz and glamour does not make up for the connection that the audience loses when we cannot see a singer’s entire face. Thus, I decided to design a mask for singer’s that could add expression and experience to live performance, making up for the aspects of connection lost due to facial covering. I began my design process by developing the following Mood Board:
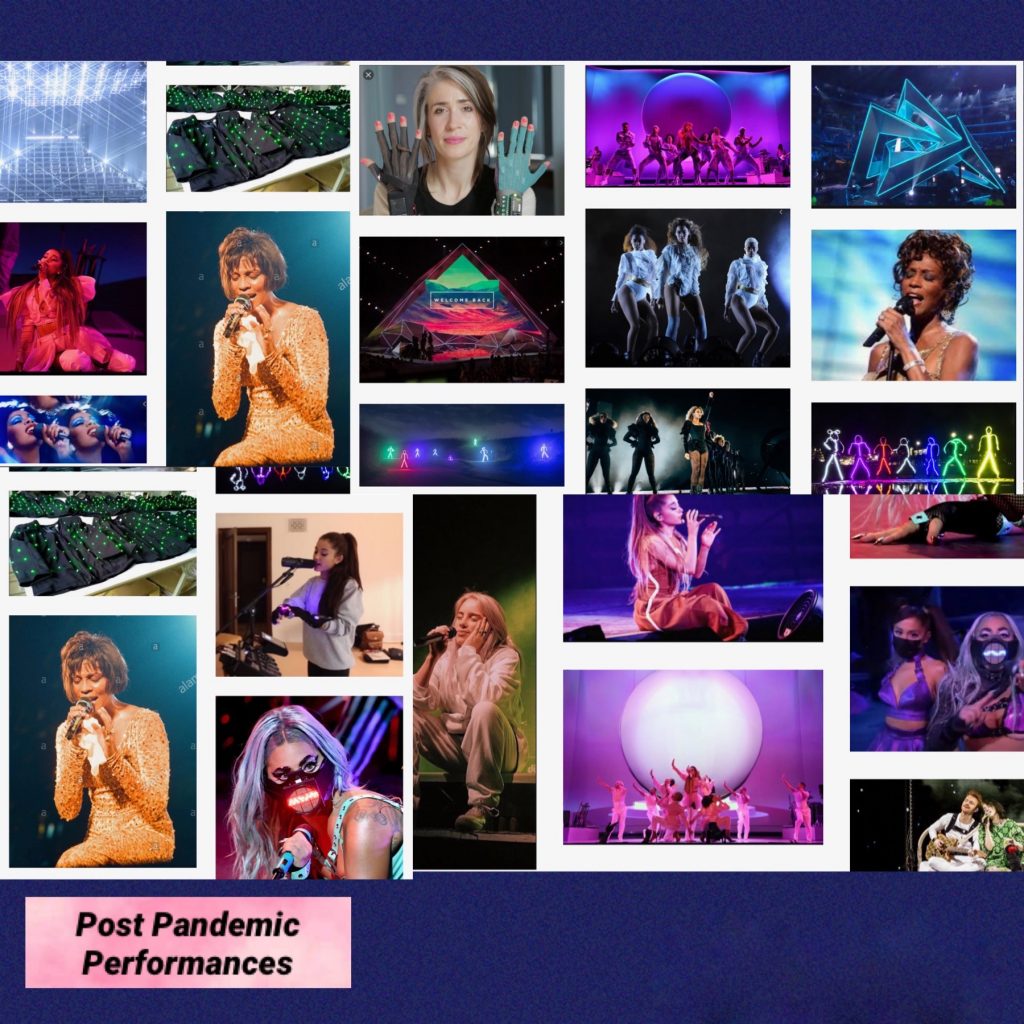
Looking through these iconic shots of singers captivating audiences, I considered the ways in which I can incorporate facial technology to keep their magic alive, and I noticed something special: In the most intimate moments of performance, individuals tend to tilt their head up, down, or to one side. These moments are particularly notable when shared with an audience while perched at the front of a stage or in a way such that the face/head of the performer is blasted and emphasized on a large screen. I could certainly measure the positionality of one’s head via an electronic mask. But first, as a cautious performer myself, I needed to look into the implications/safety of purposely/frequently shifting head positions while singing.
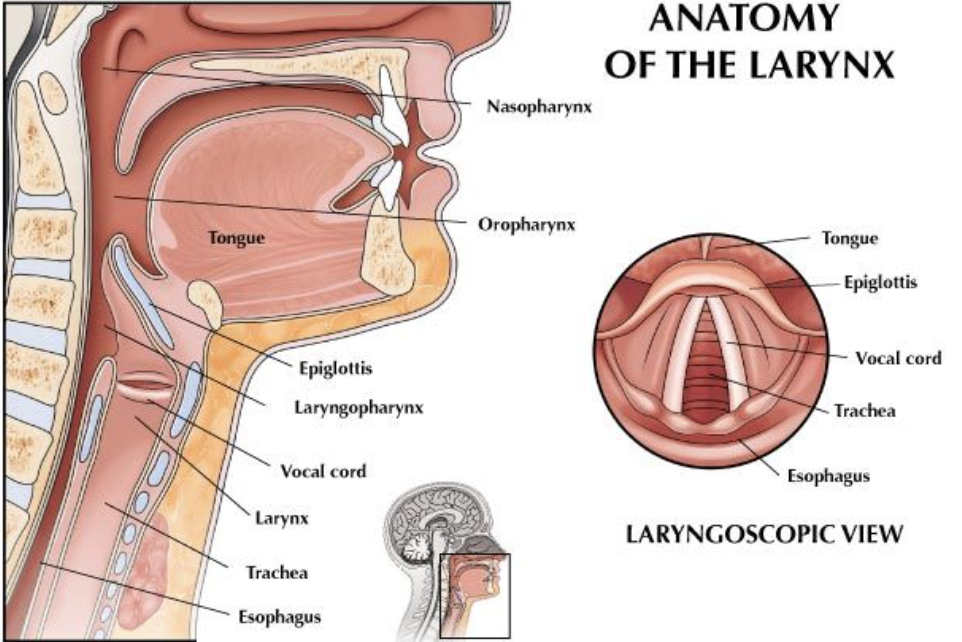
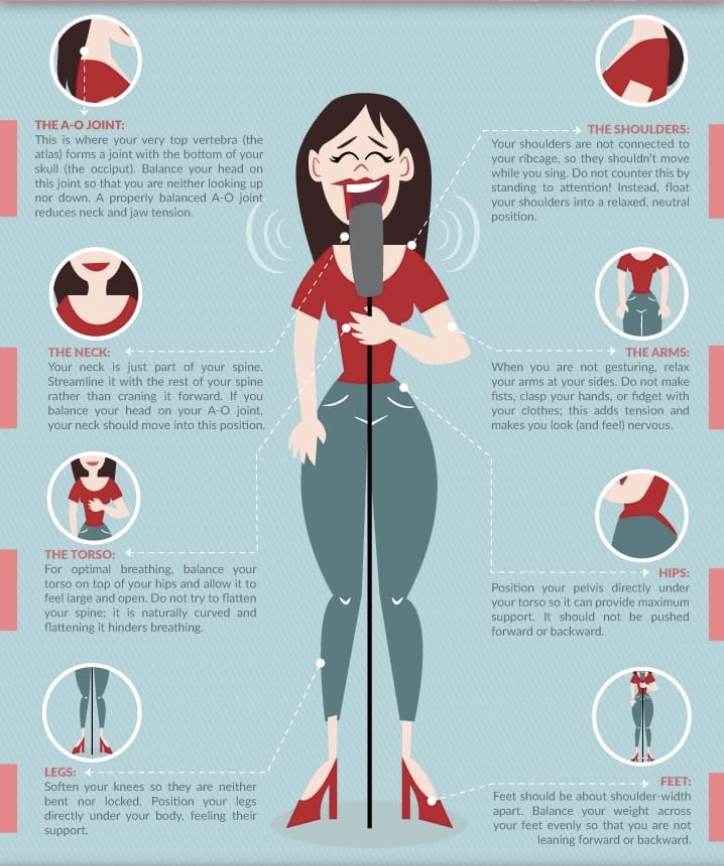
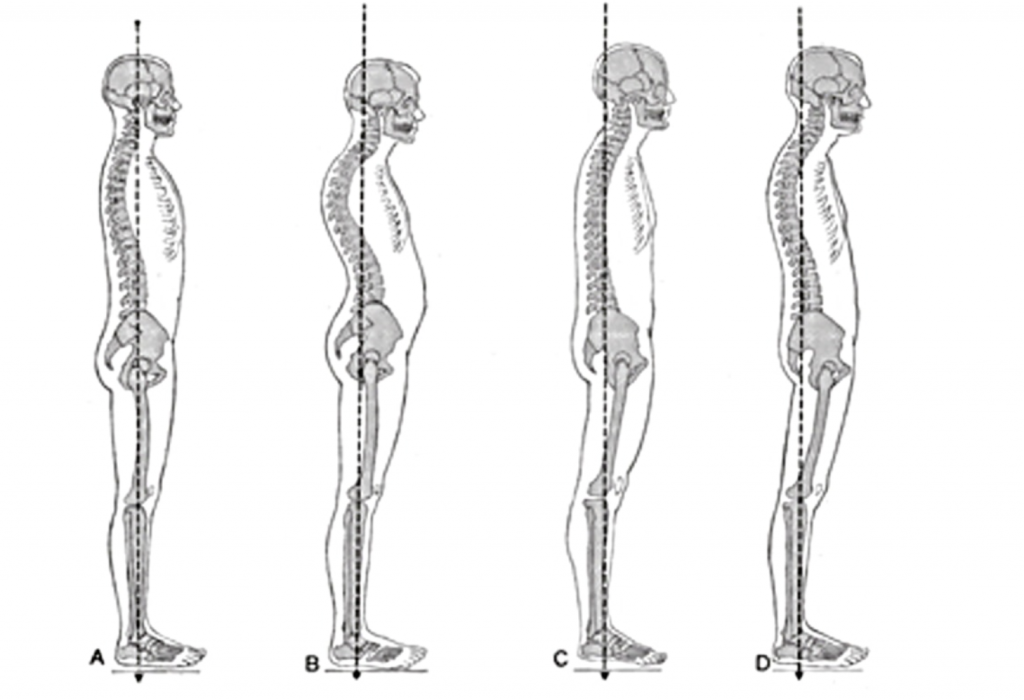
When performing, vocalists must maintain a very specific, vertical bodily alignment. As shown in the images above (and explained more extensively in the scholarly article linked in the bottom photo of the gallery), incorrect alignment will detract from vocal quality and can potentially pose damage to the vocal cords by interfering with air flow and causing muscle tension in the tongue/jaw/neck/throat/shoulders/etc. Therefore, after reading more about how our vocal system works and playing around with different head-positions myself, I decided on specific poses to include in my design. Then, I was ready to sketch my first Prototype:
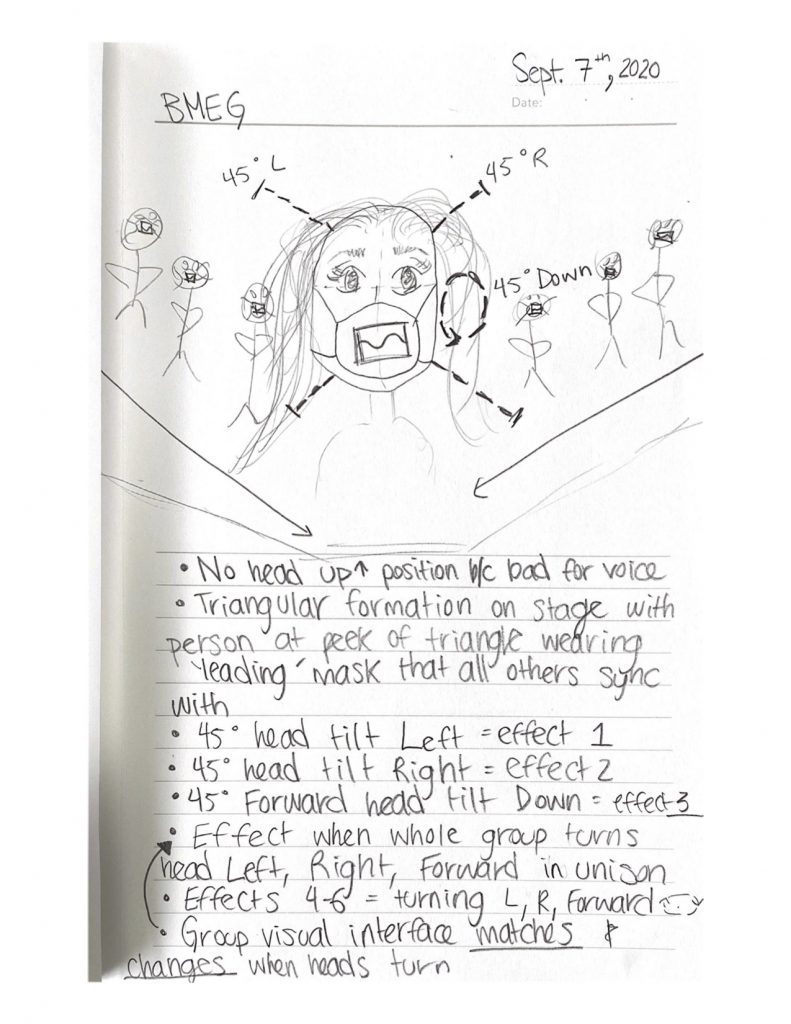
My Initial Goals for what is now called Maskware Technology were the following:
- Three different vocal patches applied to voice when mask detects head tilt of 45 degrees Left, Right, or Down
- Bluetooth that connects multiple people wearing the mask in the same room
- Three new effects when entire group hits positions from Goal 1
- Visual interface that displays (accurately) the sin waves of the frequencies being produced
- Visual display that syncs all performers to main performer’s display via bluetooth
At this point, it was time to start building. So, I started with the aspect of the project most comfortable for me: programming. I took to JavaScript and began developing different vocal patches to use as my audio effects as well as a web-based digital display of sin-waves based on real-time data to use as the front of my design.
I developed the following vocal effects using JavaScript, Chuck, and LogicXPro:
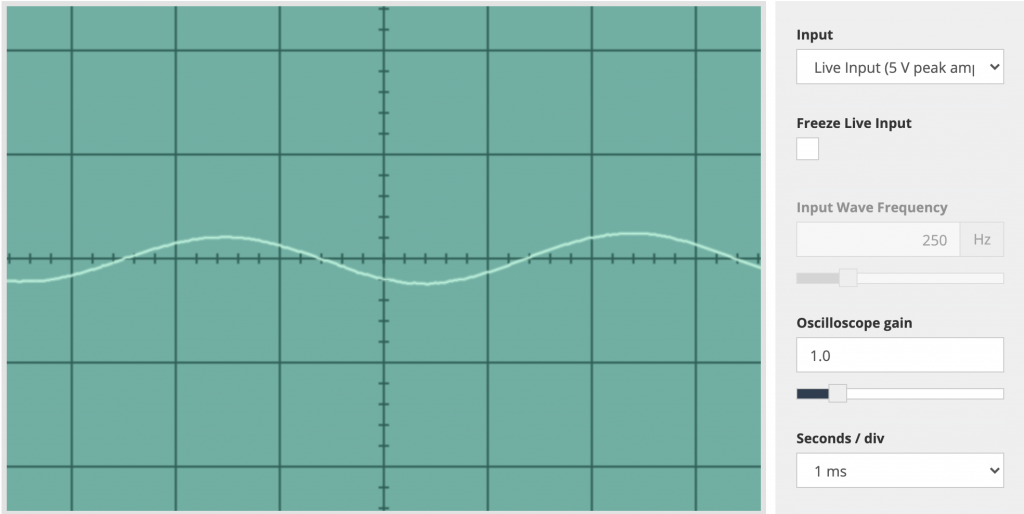
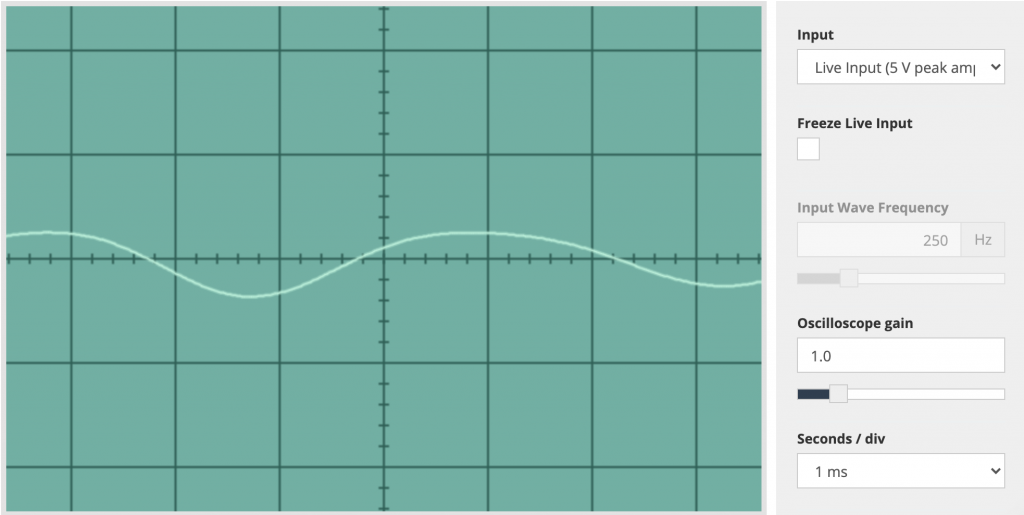
I am still working on my visual representation in JavaScript, which will present as the following (coloring will definitely change):
My idea for my visualizer at the moment is that I will simply mount a phone-mount to the front of my mask (incorporated in a chic way, of course), and the web-based oscilloscope that I am currently prototyping will be able to be used as-is via my local server (and later online).
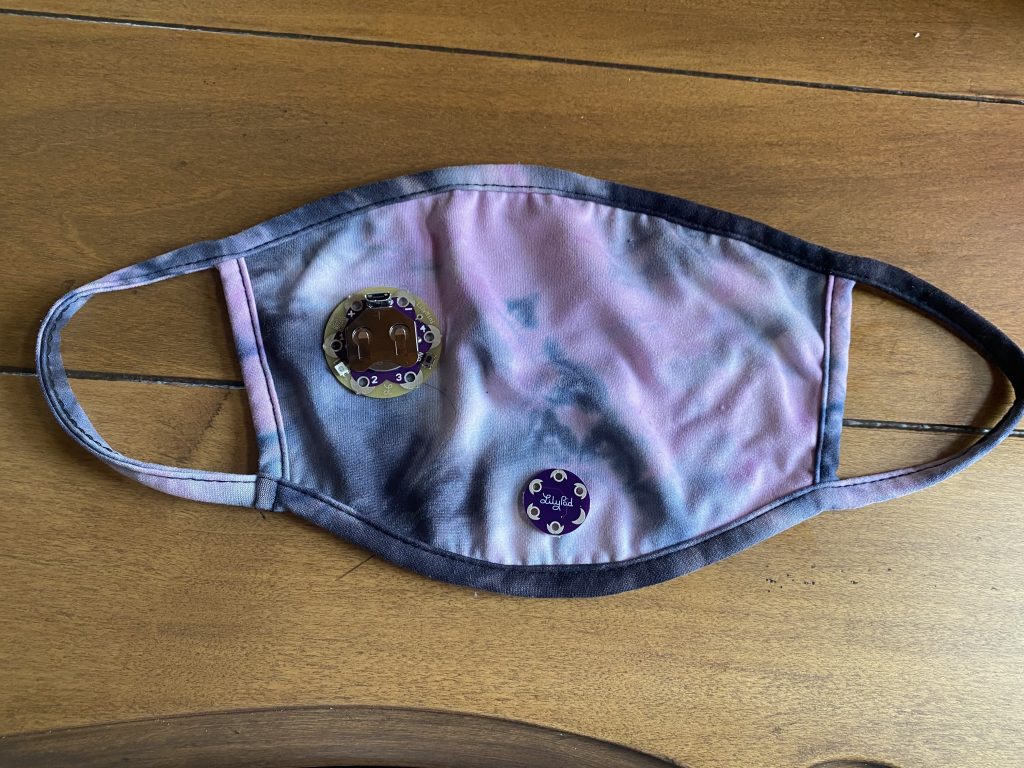
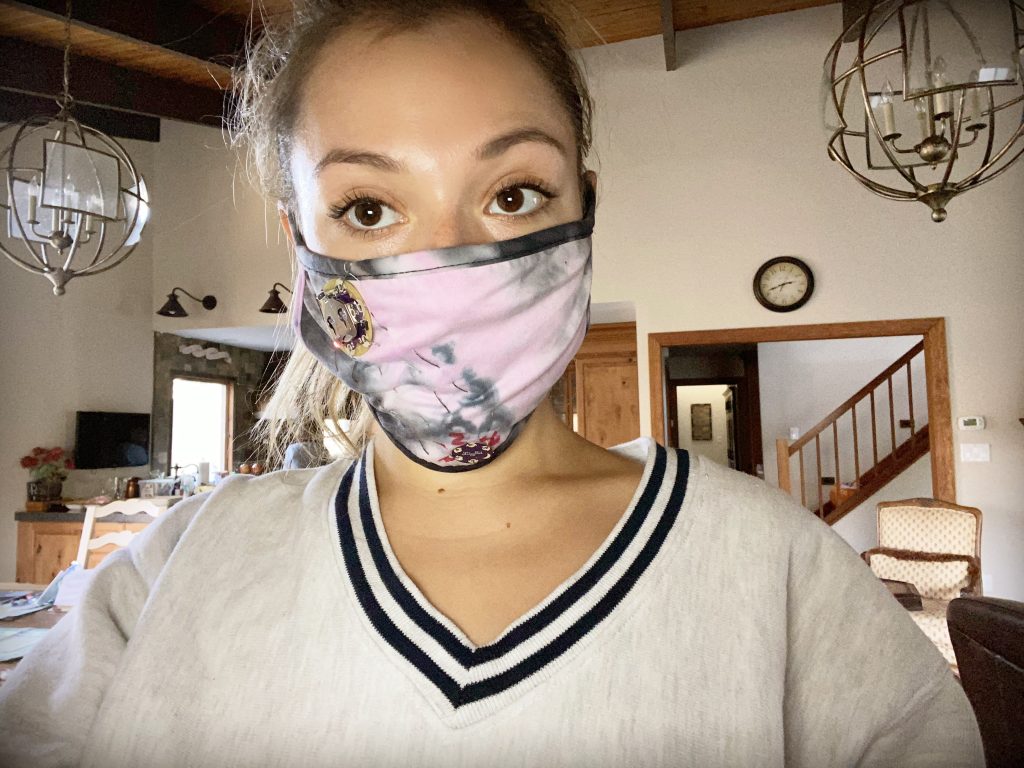
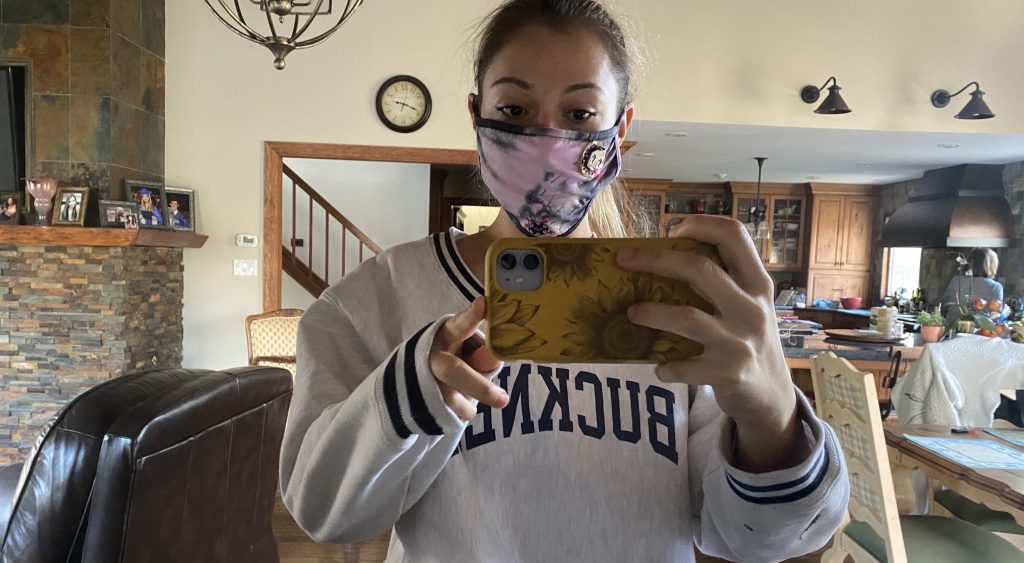
After programming these audio/visual aspects of my instrument, I moved on to hardware. I tried many different types of sensors to achieve an accurate reading of head-position. From flex-sensors leading up each side of the neck, to a tilt sensor sitting on the nose, there were various methods that did not work for my purposes. As our head sits atop our spine on a 3-axis gyroscope, I needed something to measure pitch, roll, and yaw to detect motion side-to-side as well as up-and-down. Therefore, I ended up choosing an accelerometer. I experimented with an Arduino accelerometer but found the hardware to be too clunky to smoothly implement into a mask worn on the face. Finally, I landed on the Lilypad. The Lilypad works generally like a regularArduino (with some differences in the programming for it), but it has been developed into a sewable electronics kit. After testing various positions for wearable comfort as well as effectiveness, using electromagnetic thread, I sewed a circuit connecting the lilypad to a lilypad accelerometer. I placed the lilypad on the right cheek, connector facing up to go over the user’s ear (in case it is plugged into anything), and the accelerometer on the chin- a perfect center off of which to judge the degree-of-tilt. Due to the limited (four) ports on the Lilypad model that I was working with, there was not enough room to connect to bluetooth on this prototype. However, that will be another step to take on the next version going forward. In the mean time, that obstacle is why I placed the connective input by the ear and purchased 10 ft thin, ribbon cables that can be incorporated into a costume and that are long enough to not restrict movement on stage when plugged into my computer with all of the JavaScript programs for the audio patches. The circuit that I used connecting the lilypad to the accelerometer connects as follows:
- 1 —> x
- 2 —> y
- 3 —> z
- – —> –
- + —> +
As you can see in the following pictures, once I sewed my devices in place, the Lilypad LED lit up and my circuit was connected.
Programming for the Lilypad Mini (the model that I used) on the Arduino app is challenging due to the external packages that you must download in order to access and upload code successfully. After installing all of the source material for Arduino, you must copy the following to Arduino Preferences under Additional Board URLs:
https://raw.githubusercontent.com/sparkfun/Arduino_Boards/master/IDE_Board_Manager/package_sparkfun_index.json
Then, under Tools –> Boards Manager, you must first install Arduino SAMD Boards (32-bits ARM Cortex-MO+) version 1.6.13 and THEN install Sparkfun SAMD Boards (dependency: Arduino SAMD Boards 1.8.1) version 1.4.0. If you install the wrong versions of anything, as I initially did, you will run into many errors with the build of your core Arduino file (‘Arduino15’); your core build will most likely be missing the file ‘sam.h’. There is some documentation on how to navigate this issue online and manually add ‘sam.h’ but nothing has worked for me thus far. Personally, I started using a different computer and installed the correct versions. This was an unfortunate workaround but it is working for right now.
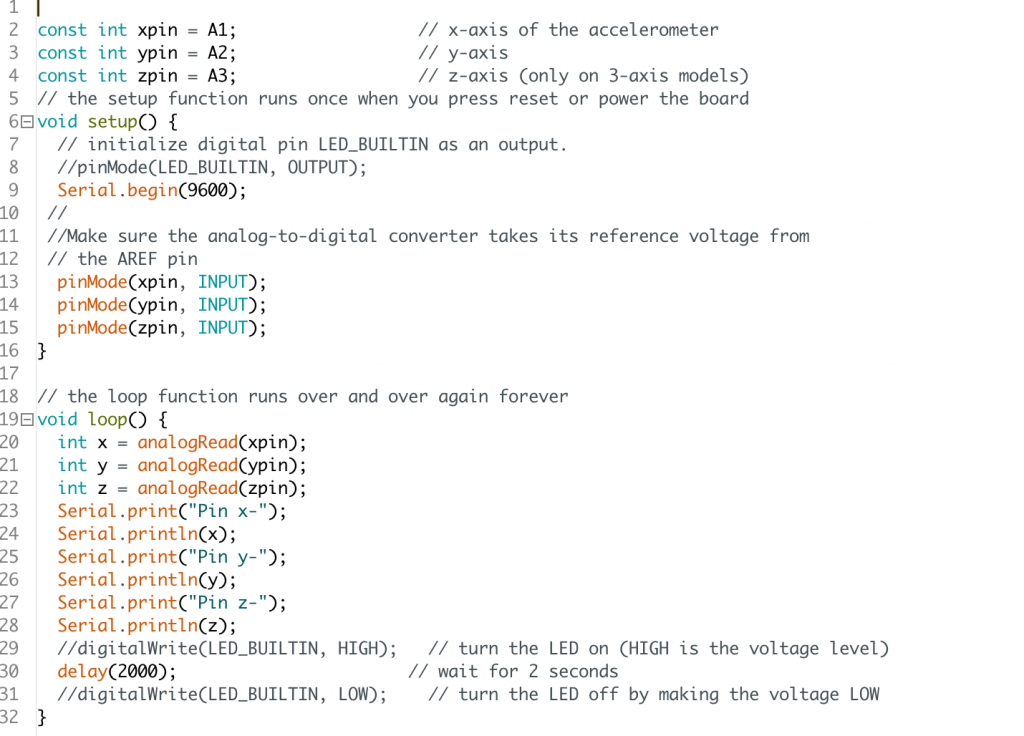
Once installing the correct software, you must select the proper board/port to match your lilypad. After completing these steps, my code worked as follows:
As we can see above, my serial monitor checks the x/y/z coordinates of the accelerometer every 2 seconds and reports their outputs.
In order to link my audio FX with my accelerometer data, a few things must be done. First, when the Lilypad program begins running, the user must wait 5-10 seconds with their head in a neutral position in order for the ‘home-base’ position of the head to be defined. Neutral head position = no vocal effect. Then, based on this neutral position, the threshold for 45 degrees left, right, and down are mathematically determined and added in as constants. Finally, if the head reaches a threshold, then the input audio stream of my microphone is sent to the JavaScript file associated with that threshold. If the head returns from that threshold, then the input stream stops being sent to the associated JavaScript file and there is no vocal effect. This is an open-project and I am currently working on integrating JavaScript with lilypad using ‘Johnny-Five‘, the JS Robotics and IoT platform. My next goal is to incorporate a bluetooth module so that the mask does not need to be plugged into my computer to work. Once my mask is functioning wirelessly, I will choreograph more dynamic head motions to my songs like Ghostly_Friend for real-time builds of my electronic music in live (or live-streamed) performances. I have a livestream concert coming up December 18th on LiveRoom and I am excited to see where my performances/music/instruments go from there! Visit the AboutMe page for more to stay up to date with more content/music/other projects!
